Adding an Exchange account in Outlook for Windows
This guide explains how to connect your business profile seamlessly to the Websites Victoria Hosted Exchange environment using native Autodiscover connection structures.
System Prerequisites
- ✓ An active, provisioned Websites Victoria Hosted Exchange email profile.
- ✓ A valid, licensed installation of Microsoft Outlook for Windows.
Step-by-Step Configuration
1. Access System Mail Configuration
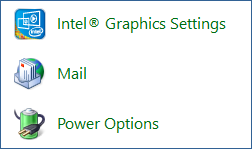
Open the Windows Control Panel on your desktop. Locate the search field and type Mail, then select the resulting Mail setup module.
2. Manage Profiles Matrix
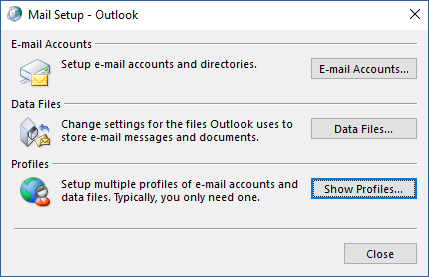
Inside the standalone Mail Setup modal layout window configuration panel, click the action element button labeled Show Profiles....
3. Initialize a New Profile Node
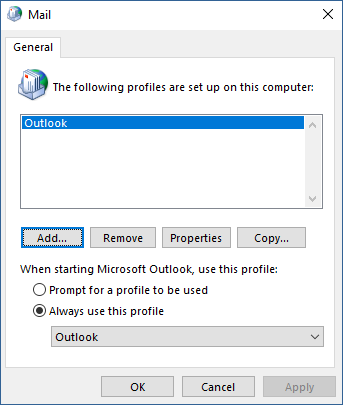
Click the Add... button to create an independent workspace directory for your Exchange server route parameters.
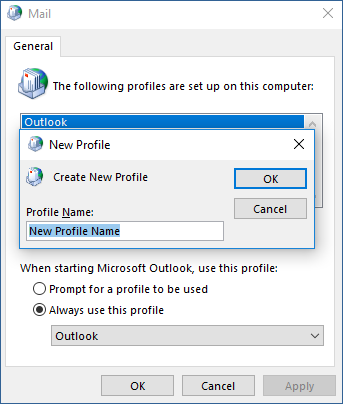
4. Specify Profile Branding Definition
Type an identifiable, unique name placeholder string into the Profile Name text box (e.g., "Websites Victoria Exchange") and select OK.
5. Populate Identity Credentials Form
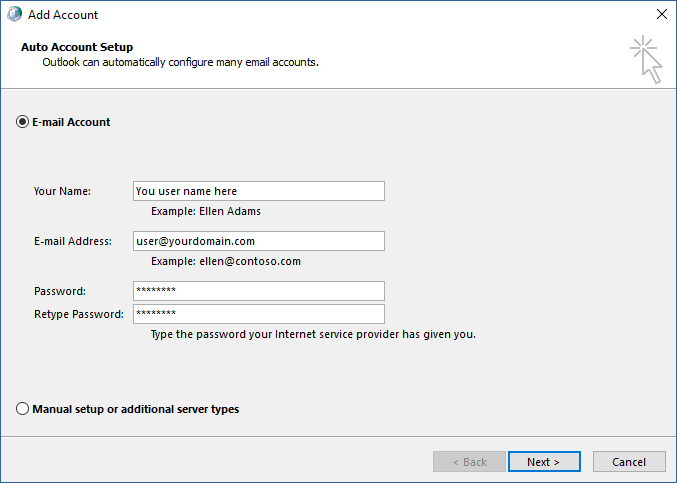
Select the E-mail Account radio element choice node and fill out the form fields with your production access variables:
- Your Name: Your corporate presentation identity layout text.
- E-mail Address: Your complete hosted business email address.
- Password / Retype Password: Your secure authentication key passphrase credential.
6. Complete Autodiscover Sync Sequence
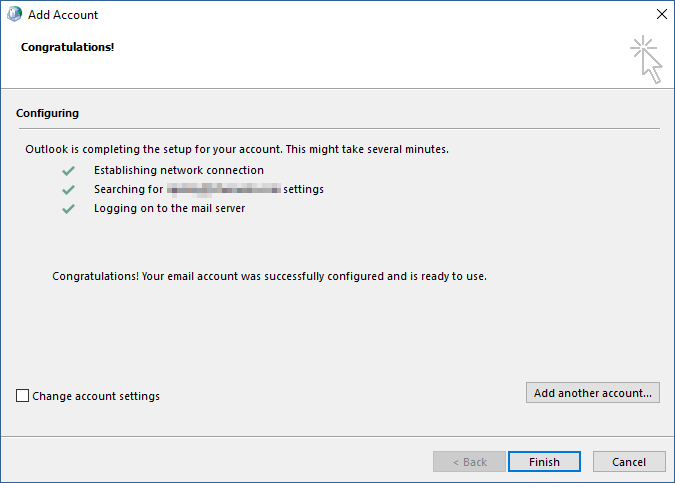
Click Next. Outlook will automatically query the cluster network layers via secure protocols. Once all status checks display green ticks, click Finish. Your secure Exchange data folders are now successfully integrated.